Leggi questa guida in italiano
Taking furniture apart and putting it back together: what is worth doing yourself
Which furniture is worth dismantling and which is not, how not to lose the screws, and why a screw in chipboard only holds well the first time.
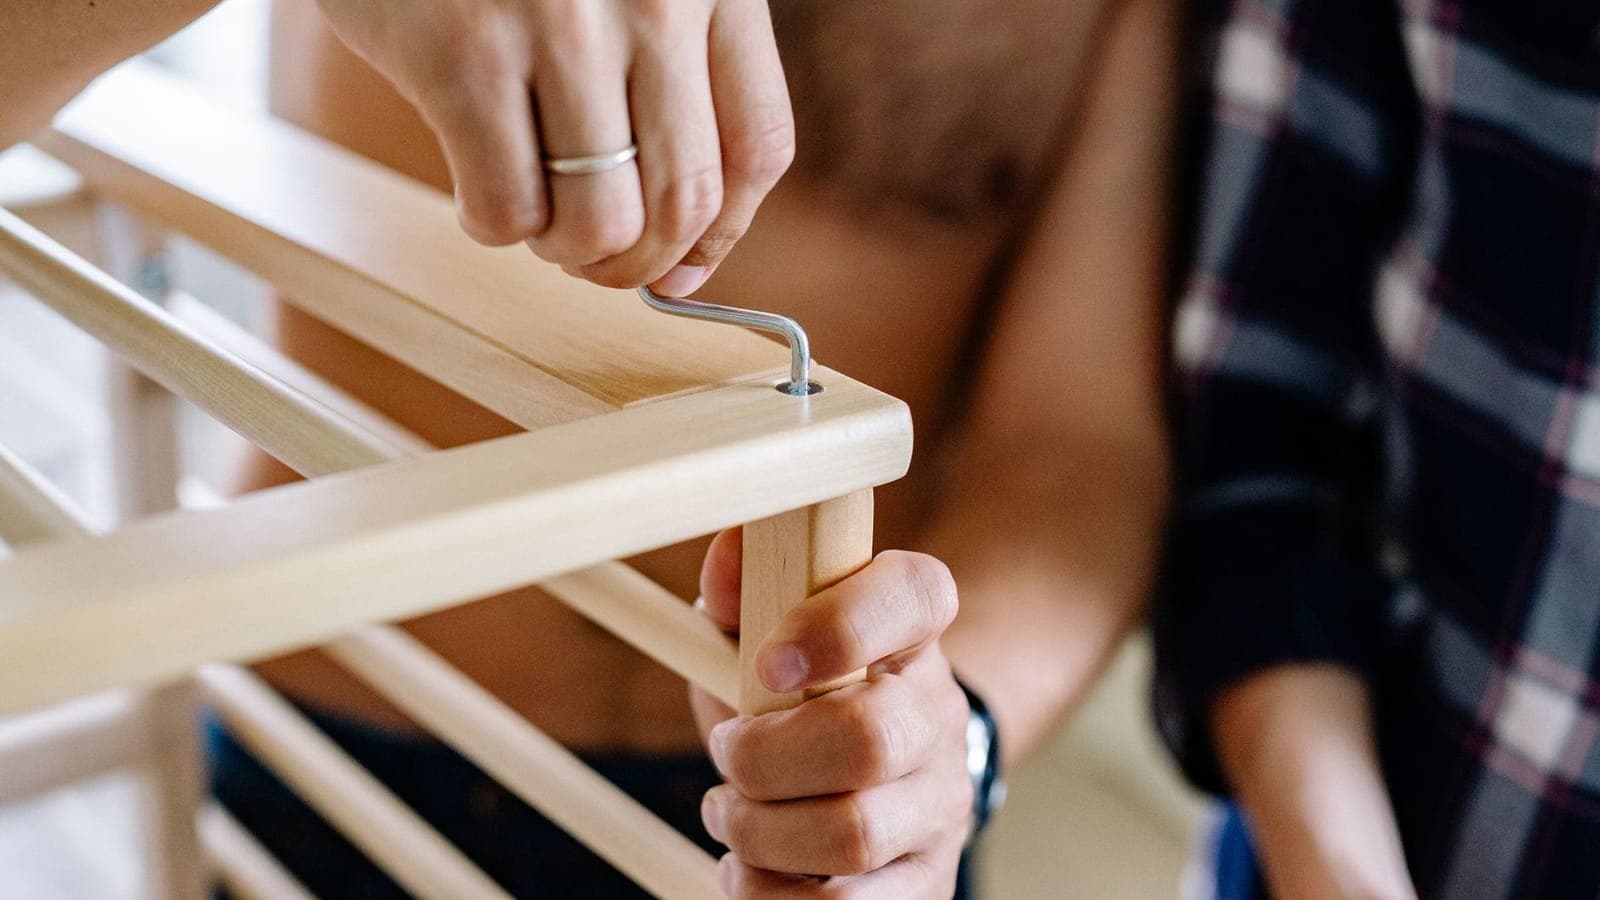
Taking a piece of furniture apart is almost always easy, while it is putting it back together that decides whether you did a good job or a bad one, and the moment you find out is always the same: new home, late evening, a screw spinning uselessly in the chipboard and no desire to start again.
That is why, before you ask whether you are able to take a piece of furniture apart, ask whether it is worth doing: they are two different things, and the second one is decided before you pick up the screwdriver.
How to decide
A piece of furniture should be dismantled when at least one of these three things is true.
It does not fit through. It will not leave the room, will not turn on the landing, will not go in the lift, will not fit through the door of the new home. This is the most solid reason of all, and it needs checking with a tape measure before you decide anything. Measure the piece along its diagonal, not just its width: a wardrobe goes through tilted, and what counts is the measurement from corner to corner.
It is too heavy to move in one piece. Weight counts in relation to the people who are there that day and to the stairs in that building, because a two-metre bookcase can be moved by two people on a wide landing, while the same bookcase on a spiral staircase cannot be moved by anyone.
It gets damaged if it travels assembled. This applies above all to furniture with glass doors, loose shelves and hardboard backs. Assembled, they twist at every bend, and twisting is what widens the screw holes.
If none of the three applies, leave it whole. Every dismantling is a risk you take on, and cheap furniture does not survive many cycles.
Why chipboard only holds well the first time
Almost all household furniture is made of chipboard or melamine-faced MDF. Inside there is pressed material rather than solid wood, so the screw does not bite into fibres: it carves its own thread into the pressed board.
The consequence is that the first time the screw goes into a fresh hole and holds very well, while the second time it runs along the same thread and holds a little less. If you have been rough, or if the piece travelled assembled and took some twisting, the thread crumbles and the screw spins uselessly for ever.
In practice this comes down to two rules. First: dismantle as little as possible. If a wardrobe gets out without removing the sides, do not remove the sides. Second: when you reassemble, screw in until it stops and then leave it, because the extra half turn you give "to be safe" is the one that ruins the hole.
If a hole has already gone, the repair you can do on the spot is the toothpick with PVA wood glue: push two or three into the hole with a drop of glue, cut them flush and screw back in. It holds, and in many cases it holds better than before. Plastic repair plugs for wood work the same way but have to be bought beforehand, and on moving day you are in no position to go to the hardware shop.
How not to lose the screws and fittings
The small parts are the thing that is always missing, not because they really vanish but because they end up in three different places and nobody remembers which.
The method that works is boring and is done once per piece of furniture. Each piece gets its own resealable bag, with all of its screws, cam locks, wooden dowels and Allen keys inside. On the bag you write the name of the piece with a marker pen, not on a stuck-on label that peels off.
Then the bag gets taped to the piece itself, somewhere out of sight: behind the back panel, under a shelf, inside a drawer that you then tape shut. If you tape all the bags to a single cardboard box that is fine too, but then that box becomes the most important thing in the whole move and has to travel in the car with you.
Door hinges are a case apart. If you can, leave them screwed to the door and remove only the mounting plate from the side panel: cup hinges are adjusted on three axes, and once taken off and put back at random you have to redo the adjustment door by door. That is twenty minutes per piece, multiplied by however many doors you have.
Photograph before, not after
Before removing the first screw, take three or four photos with your phone. The whole piece, the back, the attachment points, the order of the shelves.
They serve two purposes. For reassembly, obviously, especially if you no longer have the original instructions (you almost never do, and the model is often no longer in the catalogue). And they serve as proof of the state it was in beforehand, if something happens to the piece in transit and you need to discuss it with someone.
Photograph the orientation of the parts too. Side panels, backs and shelves look symmetrical and almost never are: they have a finished face and a raw one, and the pre-drilled holes are on one side only. If you fit a side panel the wrong way round you notice straight away, because the holes do not line up, while with the back panel you notice later, when the piece is already standing.
The tools you actually need
Not much, but the right things.
A cordless drill driver with an adjustable clutch is the tool that changes your day. A low clutch setting is there precisely to stop you going past the end point, because the driver stops on its own at the point where you would carry on. If you only have a manual screwdriver that is fine, it takes longer and you do less damage.
Then: a set of Allen keys (the ones supplied with furniture are folded sheet metal and they round off), a rubber mallet for the wooden dowels and for closing joints without marking the melamine, a flat-head screwdriver to lever where needed, and some masking tape.
Masking tape is more useful than it seems. It holds doors and drawers shut during transport, and unlike packing tape it comes off without taking the finish with it. On lacquered or painted furniture never use strong adhesive tape, and in any case remove it within a few days: the longer it stays on, the more residue it leaves.
Piece by piece
Wardrobes. Always remove the doors and shelves, even if the wardrobe would fit through whole. The doors are the part that gets damaged first and they are also most of the weight. Sliding doors almost always come out by lifting them upwards and pulling the bottom towards you, but before forcing anything check whether there is a stop screw at the top of the track. The tracks, if they are aluminium, are the easiest thing to bend in the whole wardrobe: they travel flat, supported along their whole length, never upright leaning against a wall.
Beds. The bed almost always needs dismantling, and it is almost always the simplest piece. The slatted base folds or splits in two, the headboard comes off, the side rails are two or four screws. The only real precaution is to keep the parts of the lifting mechanism together if it is an ottoman storage bed: the gas struts are calibrated for that bed and are not interchangeable.
Tables. The legs come off, the top does not. A solid wood or glass top is the valuable part, and it should be protected as if it were a painting: resting on a long edge, not flat, with a blanket between the top and anything else. Extending tables with an internal leaf should be locked shut, otherwise the leaf slides every time you brake and chips against the stops.
Bookcases. Remove the shelves and the back panel, always. The hardboard back is what keeps the whole piece square: a bookcase transported without its back and without its shelves is a rectangle that turns into a rhombus, and in that position the holes widen. If the back is nailed on with pins and you cannot face removing it, then the bookcase travels upright and strapped, not lying down.
Sofas. In general they are not dismantled, you just remove the feet. If the sofa is modular, split it into its modules. If it has a detachable backrest, it is far easier to handle with the backrest off. With a sofa, more of the time goes on measuring it properly and working out where it can get through than on dismantling it.
Fitted kitchens. Here the advice is to stop. The wall units come off without problems, but the part with the water, gas and electricity connections is not a do-it-yourself job, and the gas installation certificate is there to protect you, not the installer. Take down the wall units and the free-standing base units, and for the rest call someone.
Small parts travel badly
Shelves, rails, feet and tracks are the part that arrives damaged most often, because they are thin, they get leant anywhere and nobody thinks of them as fragile.
The way to transport them is in groups, not loose. Stack the shelves from the same piece on top of each other with a blanket or some cardboard between them, and tie them together with tape or a strap. Six shelves in a single bundle can be moved by two people together, while loose they are six chances to lean one badly.
The fittings, Allen keys, feet and handles are better off in a rigid container than in a soft bag thrown into a corner of the van. A box with straight walls, like the Cangubox at 60 × 40 × 36 cm, keeps the bags still and in view instead of letting them slide under everything else, which is where they usually end up.
Reassembly: the order matters
Reassemble the large pieces before bringing the boxes in. Hardly anybody does it, because the boxes arrive first and get put down wherever there is room, and by the time you need the space to lay the sides of a two-metre wardrobe on the floor you no longer have it.
Assemble the piece lying down and then stand it up, if the ceiling allows. A wardrobe assembled upright comes out crooked, because until everything is screwed in it is not square, and you are working against its own weight. Before standing it up, measure the height of the piece and that of the ceiling: a 240 cm wardrobe in a room with a 250 cm ceiling stands up, a 245 cm one in a 248 cm room does not, and you find out halfway through the movement.
Put something underneath. A flattened cardboard box, an old blanket, the packaging panels: it stops you scratching the new floor and marking the edges of the piece, which are the most exposed part.
Screw everything in loosely, check it is square, and only tighten at the end. If you tighten as you go, the last part does not fit and you have to loosen everything. The same goes for the cam locks: first bring them together, then turn them until they stop, all at the same time.
Finally, before filling the piece, check that it does not rock. The floor is never perfectly level, and a wardrobe resting on three points out of four puts all its weight on a diagonal: the doors no longer close and the sides are under strain. If it has adjustable feet, adjust them. If it does not, a shim under the foot that is not touching takes ten seconds and saves you from living with the problem for years.
When it is better not to do it yourself
Doing it yourself makes sense as long as the piece is worth less than the risk you are taking. With a made-to-measure wardrobe, an antique, a display cabinet with inset glass, or something you care about for reasons that have nothing to do with price, the calculation changes.
Antique furniture in particular should be left alone: it is often held together with interlocking joints or animal glue, and what looks like a joint that comes apart is a joint that breaks. There the choice is to transport it whole and well packed, or have it dismantled by someone who does it for a living.
And if there are two or three complicated pieces in the home and all the others are simple, the most sensible solution is a mix: the complicated ones go to a removals firm, the rest you do yourself. You do not have to choose once for the whole move.